


En este tutorial te enseñaré como crear esas ventanas de alerta que son muy conocidas, puedes utilizarlas para dar un aviso al usuario, o para presentar algunas opciones.
Para mostrar un alert, usaremos el método showDialog(), que requiere un context, y un builder (constructor del dialogo)
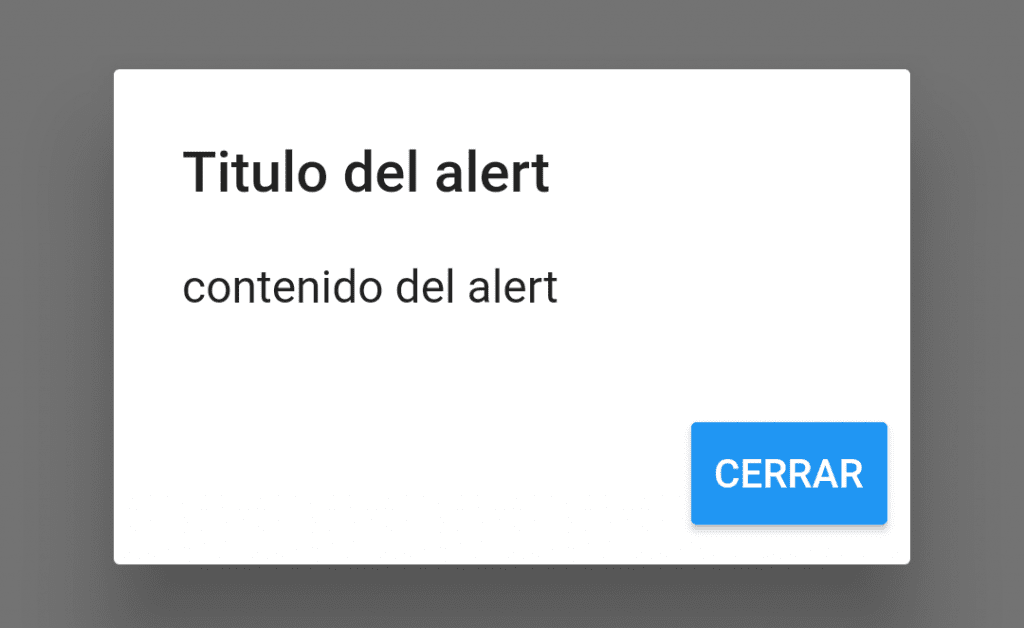
En este ejemplo mostraremos un AlertDialog, con un titulo, contenido y un botón de acción.
import 'package:flutter/material.dart';

void main() => runApp(MyApp());

class MyApp extends StatelessWidget {
  // This widget is the root of your application.
  @override
  Widget build(BuildContext context) {
    return MaterialApp(
      title: 'Flutter Demo',
      theme: ThemeData(
        primarySwatch: Colors.blue,
      ),
      home: MyHomePage(title: 'Flutter AlertDialog'),
    );
  }
}

class MyHomePage extends StatefulWidget {
  MyHomePage({Key key, this.title}) : super(key: key);
  final String title;

  @override
  _MyHomePageState createState() => _MyHomePageState();
}

class _MyHomePageState extends State<MyHomePage> {
  @override
  Widget build(BuildContext context) {
    return Scaffold(
      appBar: AppBar(
        title: Text(widget.title),
      ),
      body: Center(
        child: RaisedButton(
          child: Text("Mostrar AlertDialog"),
          onPressed: _showAlertDialog,
        ),
      ),
    );
  }

  void _showAlertDialog() {
    showDialog(
      context: context,
      builder: (buildcontext) {
        return AlertDialog(
          title: Text("Titulo del alert"),
          content: Text("contenido del alert"),
          actions: <Widget>[
            RaisedButton(
              child: Text("CERRAR", style: TextStyle(color: Colors.white),),
              onPressed: (){ Navigator.of(context).pop(); },
            )
          ],
        );
      }
    );
  }
}
El método _showAlertDialog() que hicimos crea el alert y lo muestra al usuario, el botón CERRAR «quita» de la pila de vistas el alert dialog.

